Here we go, the recipe for my PALEO TIRAMISU SQUARES! I may have had a moment of weakness and enjoyed a few squares. Not sorry at all. These will blow your mind.
I used to make a killer tiramisu back in my “I’ll eat anything” days, and I made it my mission to recreate them Paleo-Style. All I can say is: Mission accomplished!
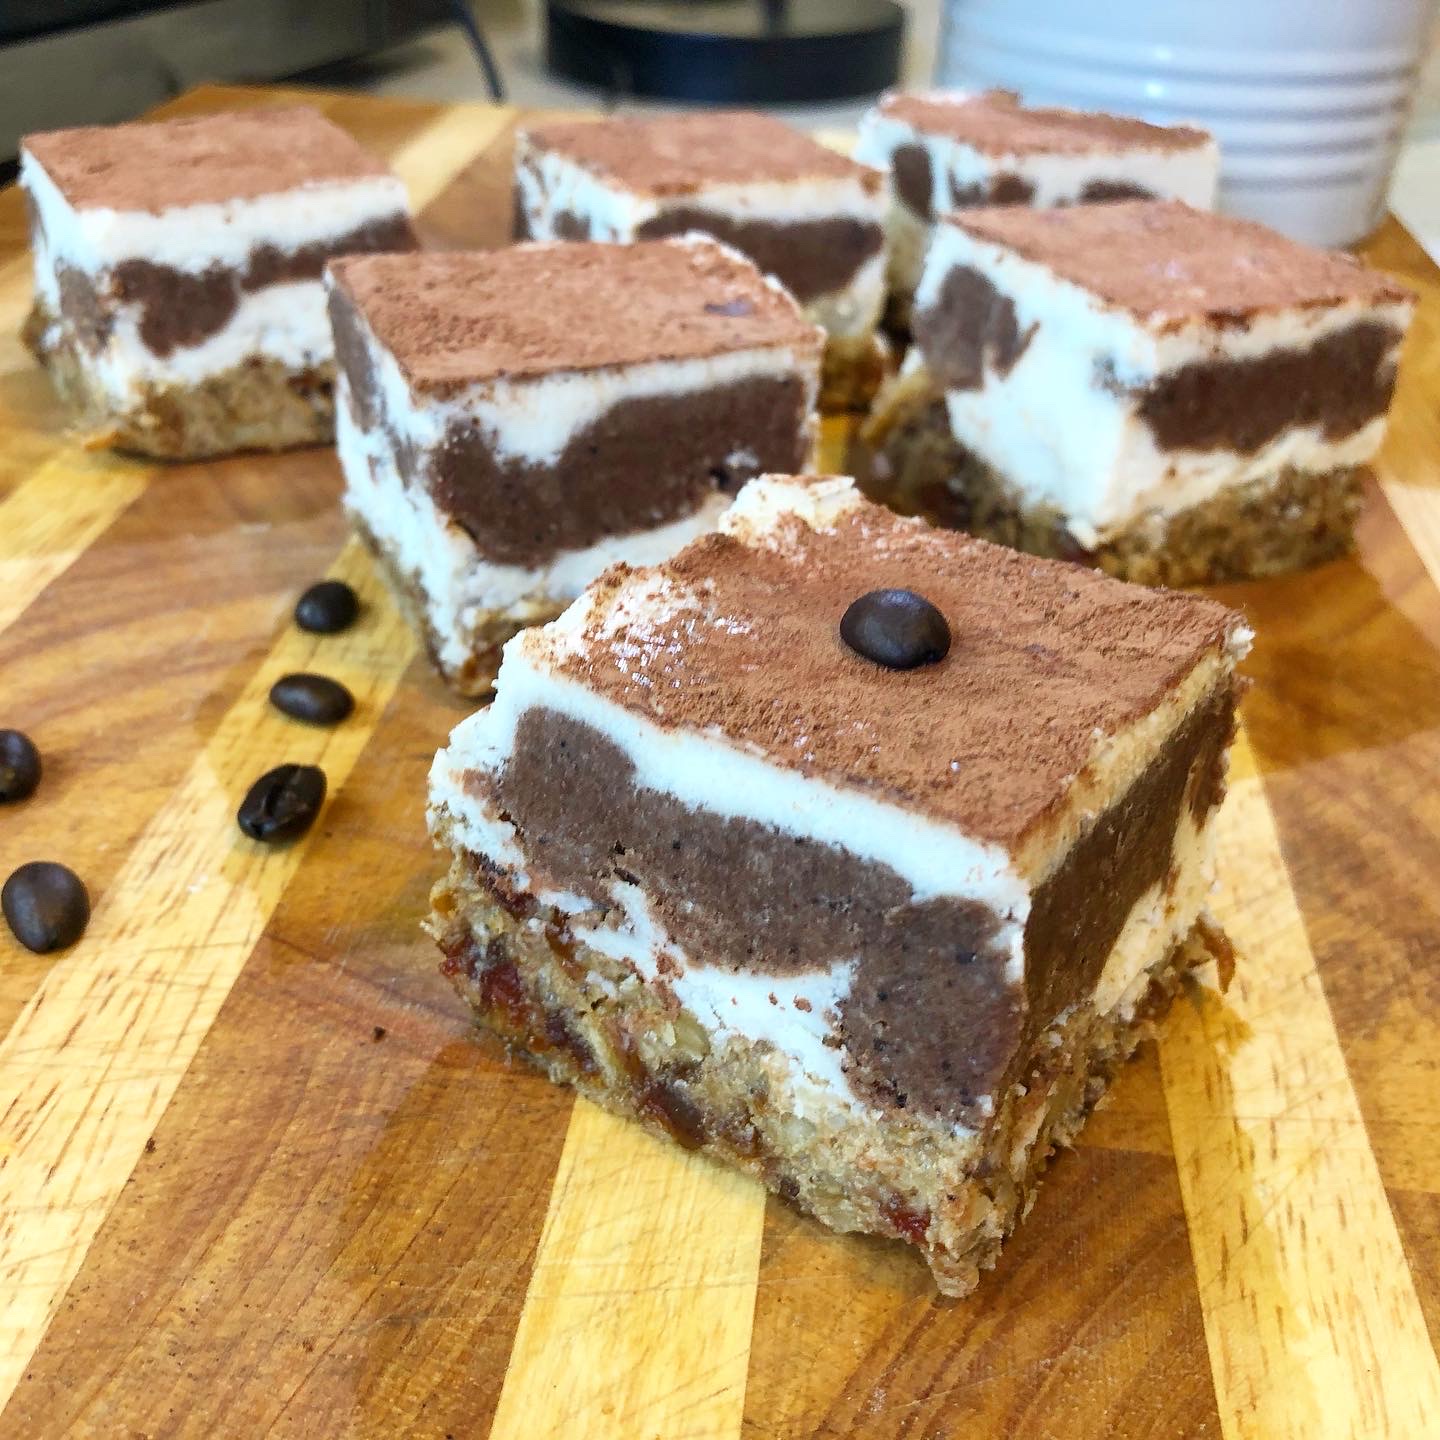
You may notice that the result will look slightly different from this picture, because I made some small changes to the recipe after my first time making it. So if you have a much thicker cream layer and a darker crust, don’t be surprised. I promise you the recipe is better because of it.
These are creamy, chewy, cacao-y, and good luck eating only one at a time. I went on a streak of having two squares ev-er-y-day for about 2 weeks. Oopsies.
Here’s the lowdown. Don’t be intimidated by the long list, they are super simple to make 😘.
INGREDIENTS:
Crust:
•2 cups of dates
•2 cups of walnuts
•2 tbsp of finely ground coffee (I use decaf)
•1 tbsp of strong brewed coffee •1 tbsp of vanilla extract
Cream Layer:
•1.5 cup of coconut butter, melted
•1/2 cup of coconut oil, melted
•1/2 cup of maple syrup
•1.3 cup of coconut cream (canned, use the thick part)
•1 tsp of pure vanilla extract
Coffee “Lady Finger” Layer:
•2 cups of almond flour
•1/4 cup of coconut oil, melted
•1/4 cup of maple syrup
•2 tbsp of cacao powder + more for topping
•2 tsp of very finely ground coffee
•1 tbsp of vanilla extract
•1/4 tsp of sea salt or pink salt
INSTRUCTIONS:
1. Start by melting the coconut butter and coconut oil.
2. Place the walnuts in a food processor and pulse until in a coarse powder form. Add remaining crust ingredients and pulse until a dough is formed. It should be pretty sticky.
3. Line an 8”x8” pan with parchment paper. Place the dough in there and press evenly, using your fingers.
4. Place all the “cream” layer ingredients and process until smooth.
5. Pour half of the cream mixture on top of the crust. Wiggle from side to side to even out. Place in the freezer and allow to set.
6. Place all Ladyfinger ingredients into a mixing bowl and stir to combine. This should create a kind of sticky paste, if too dry add coconut oil or maple.
7. Once the first Cream layer is almost completely frozen, you can place the Ladyfinger mix on top, as evenly as possible. You don’t need to pack it down, instead simply place the mixture there bit by bit until you can’t see the cream layer underneath.
8. Pour remaining Cream mixture on top and wiggle the dish to even it out.
9. Using a fine mesh colander, put a small spoonful of cacao powder in the center of it and sprinkle evenly across the tiramisu.
10. Place in the freezer and allow to set for at least 3 hours or overnight before cutting and serving. Once set, cut into squares and transfer to the refrigerator.
11.Best served at when refrigerated.
.
Please follow and like us: